Regard3D+Blender+FreeCAD workflow
Work in Progress... Forum discussion.
This wiki present a FLOSS workflow for an architecture job (documentation and registration of an existing house renovation), that involve the use of Regard3D, Blender and FreeCAD for Geometry Scanning, BIM modeling and CAD documentation. This workflow is fully multi-platform (the three programs run on Windows, Mac, Linux).
Tools
Geometry scanning
The idea is to gather geometry data of an existing building for further 3D modeling process. For this, we will use open source photogrammetry software.
Creation of data set of photos
- Camera's metadata must include focus lens (you can add that information manually later).
- Shoot several photos of the building with a camera or smartphone. In general it is good to take more than 60-80 images from different angles. Look for info about photogrammetry good practices.
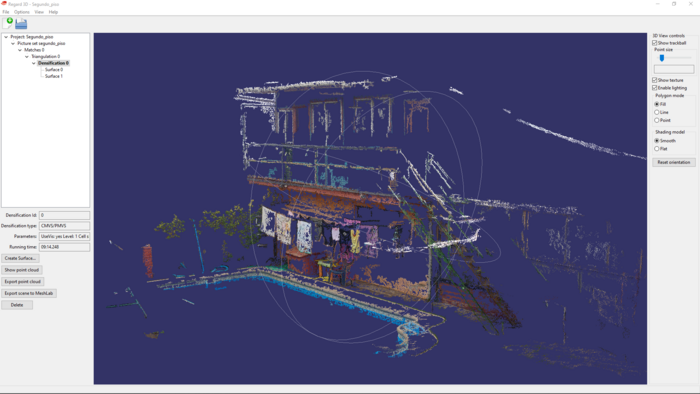
Point cloud generation with Regard3D.
- For this step it is used Regard3D, but there are other photogrammetry programs that can be used. Refers to Software Directory for more options.
- Import image set.
- Generate point clouds of the model (see tutorial ).
- Export point cloud file (*.ply). You can save several point clouds files to cover all facades of the building.
- Mesh generation (Optional). Also, you can generate mesh surfaces with the point clouds. But, for this case I found efficient enough to work only with the point clouds.
3D Mesh modeling
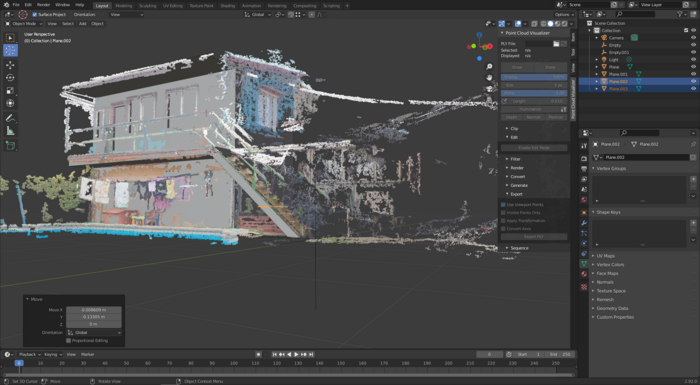
Volumetric mesh reconstruction with Blender + point cloud visualizer (0.9.3v). Using Blender You can visualise the point cloud and generate a volumetric mesh to get the general dimensions and shapes of the building. However, this step is optional, because you can directly import the point clouds into FreeCAD. But, the point cloud visualiser has more manipulation options than FreeCAD.
Importing the point clouds
- Install point Cloud Visualiser add-on (0.9.3v).
- In blender create a empty object.
- Import a point cloud file in the empty object (you can use several empty objects to use several point clouds to recreate the whole building).
- Edit the point cloud position and scale it (in edit mode).
- Export new edited point cloud from empty object (to save the edition). Now you can load the new point cloud each time you open the blender file.
Geometry modeling
- Model the main volumes with Bleder, using the points as reference.
- Opt 1) convert the Blender meshes into BIM models using BlenderBIM add-on.
- Install BlenderBIM Add-on
- Set the meshes as BIM objects
- Export the model as IFC file
- Opt 2)Export the model as a mesh file (OBJ, STL...).
BIM modeling
BIM model with FreeCAD (using as reference the mesh from Blender). Once I got a good mesh volume, I exported a stl file to FreeCAD to recreate the main walls and windows with the Arch Workbench.
Importing the files to FreeCAD
2D CAD documentation
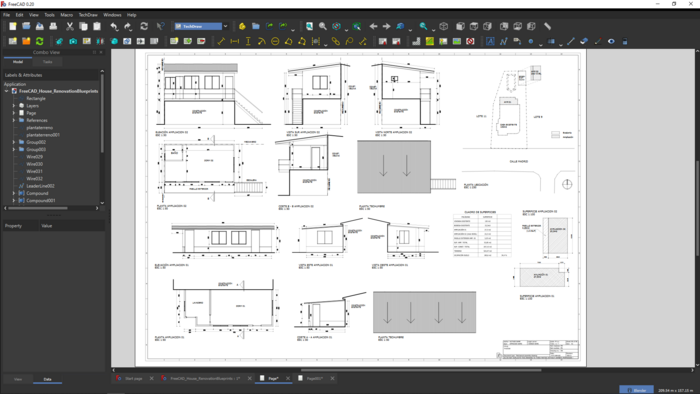
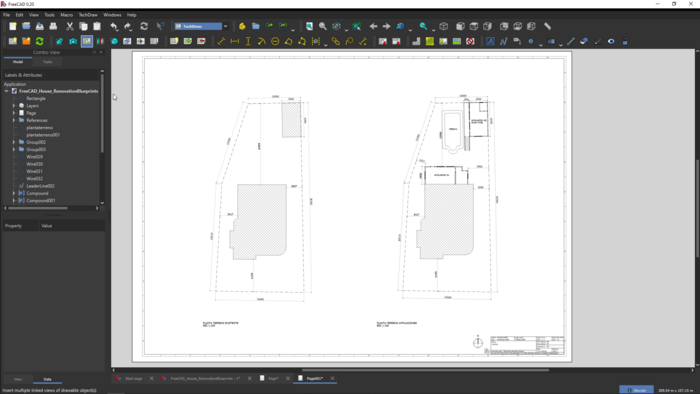
2D CAD documentation (sections, elevations, etc) with FreeCAD. With the 3D model finished, I started to extract 2D sections and views from the model to produce a basic 2D CAD documentation for the authority's office registration. I will finish with TechDraw workbench for final drawings.
2D documentation


